Proper Surface Prep: Why It's Crucial for Car Coating Longevity
When it comes to giving your car the best protection possible, the importance of proper surface preparation can't be overstated. Consider it akin to preparing for a significant presentation—if you fail to establish a well-structured plan and organize your materials, you run the risk of failing at the crucial moment. Thoroughly preparing your vehicle helps in achieving an excellent finish and ensures that the coating lasts longer and provides better protection.
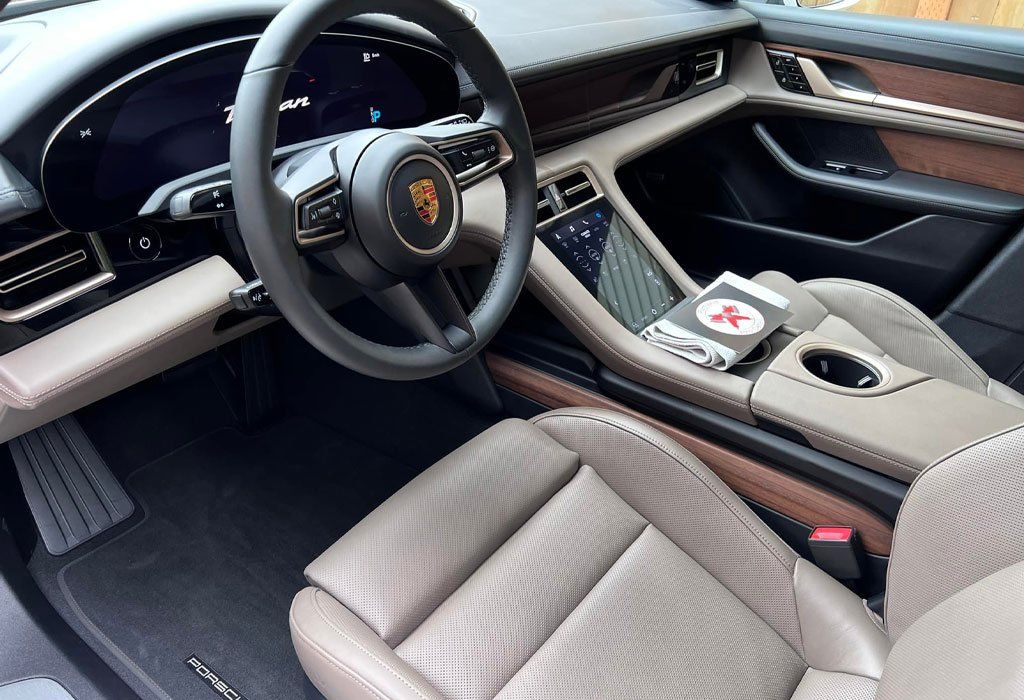
Proper surface preparation is crucial before applying ceramic coating because it ensures optimal adhesion, which in turn enhances the durability and protective qualities of the coating. Skipping this essential step can lead to issues such as uneven coverage, compromised finishes, and ultimately, reduced lifespan of the coating due to trapped contaminants or inadequate bonding with the vehicle's paint surface.
Importance of Surface Preparation
Proper surface preparation is akin to laying a sturdy foundation before constructing a building; without it, everything built on top will suffer. Think of it as the hidden hero that goes unrecognized yet plays an essential role in the success of ceramic coatings. Investing time in proper preparation boosts the longevity of your vehicle’s coating.
- Enhances Adhesion: The first crucial aspect of surface preparation is that it significantly enhances adhesion. When a vehicle's surface is prepped, any obstacles—like dirt, wax, or old sealants—are removed. This process creates optimal contact points between the car paint and the ceramic coating, allowing the coating substance to bond effectively. Imagine trying to stick two pieces of tape together while one has lint stuck to it; they won’t stick! A well-prepped surface can increase coating adhesion. With this solid foundation, the likelihood of your ceramic coating adhering properly and remaining intact for years increases substantially. It’s staggering to note that most of the coating failures are attributed to poor surface preparation. A proper clean can extend the life of the coating compared to inadequately prepared surfaces. Clearly, spending those additional hours readying the surface is not merely beneficial; it's imperative.
- Enhancing Aesthetic Appeal: Thoroughly prepping the surface allows for a stunning finish. By removing contaminants and polishing away imperfections, you achieve a smooth canvas that reflects light brilliantly and showcases the true depth and vibrancy of the paint. The result? The result is a glossy sheen that gives your car a showroom-quality appearance. Furthermore, this exquisite finish requires meticulous care and attention. It’s crucial to use high-quality products such as clay bars for decontamination or mild polishes tailored specifically for automotive finishes. These tools help ensure any blemishes are removed effectively, leading to an enhanced appearance—one that communicates pride and care in ownership.
- Prevents Future Damage: Lastly, let's discuss prevention. By undertaking thorough surface prep before application, you're safeguarding your vehicle from future damage. Removing harmful substances like tar deposits and bird droppings ensures they don't get trapped under the ceramic coating. The consequences of ignoring this step could mean disastrous damages occurring where these corrosive materials lurk silently beneath your lovingly applied coat. Picture this: over time, a neglected area under a poorly applied coating starts corroding due to trapped contaminants, which can lead to significant repair costs. Avoiding such pitfalls reaffirms how critical surface preparation truly is.
Emphasizing meticulous surface preparation improves adhesion and visual appeal, prevents future damage, and lays the groundwork for understanding the harmful elements you need to remove during this crucial process.
Identifying Contaminants
When it comes to preparing your vehicle for a ceramic coating, understanding the various contaminants that could be clinging to your paint is crucial. If you don't deal with them before the main event, they could ruin everything. It’s in the details, and knowing what to look for can make a significant difference. Begin by examining for iron deposits. These tiny rusty specks come from brake dust generated during normal driving and are especially common around your wheels and lower panels. If left untreated, these deposits can oxidize and potentially damage the paint beneath. A close visual inspection should reveal their telltale rust-like appearance. Moving on, let’s consider tar and grease, which are often found on the lower sections of your vehicle, particularly around the tires. These sticky substances can result from oil residue on the roads or tar from construction sites. If you notice any black or brown spots glistening on your car, you've likely encountered tar.
Another major culprit is nature itself—specifically, tree sap and bird droppings. Often found on horizontal surfaces like the hood or roof of your car, both sap and droppings are acidic and can damage your paint over time if not removed promptly. If you spot anything sticky with varied colors or textures, give it immediate attention before it bonds too tightly with your finish. It’s also important to be mindful of water spots, which appear as white or cloudy blemishes left behind after water evaporates. These mineral deposits can create an uneven surface that ruins the aesthetic appeal of an otherwise pristine vehicle. Lastly, don't overlook industrial fallout—tiny metallic particles from factories that settle on your vehicle's surface. These are usually harmless, but dealing with them prior to application ensures optimal adhesion in your ceramic coating.
Step-by-Step Cleaning Process
The first essential action to tackle is the initial rinse. This might seem simple, but it's critical. Grab your hose or pressure washer—if you opt for the latter, make sure it’s set to a safe pressure for car paint, ideally between 1500 and 2500 PSI. As you begin rinsing, focus on getting rid of loose dirt and debris. Take your time here; a thorough rinse helps ensure that you’re not simply grinding grime into the paint during the scrubbing stages. What should the water's temperature be? Aim for a comfortable range of around 60-80°F (15-27°C) for optimal cleaning results. After you've effectively rinsed away the bulk of the dirt, it’s time for the soap and scrub phase. Using a high-quality, pH-neutral car shampoo is key here. Consider it akin to selecting the appropriate shampoo for your hair—it can significantly impact the results!
Mix the shampoo with water in a foam gun to create a thick layer of suds across your vehicle's surface. This foam serves two purposes: breaking down remaining dirt and acting as a lubricant while you scrub. Gently work in sections with a microfiber mitt using a top-down approach; this technique minimizes the risk of swirl marks that can plague your paint finish. Once you’ve scrubbed your way around the vehicle, it’s vital to follow up with the decontamination step. Here, iron removers like CarPro Iron X come into play. Applying this product aids in dissolving embedded iron deposits, which are those bothersome small contaminants that conventional washing cannot effectively remove. Once the iron remover has done its job, consider using a tar remover if there are still stubborn spots left behind. The excellent thing about these products is their ability to break down contaminants without requiring harsh scrubbing, preserving your car's integrity.
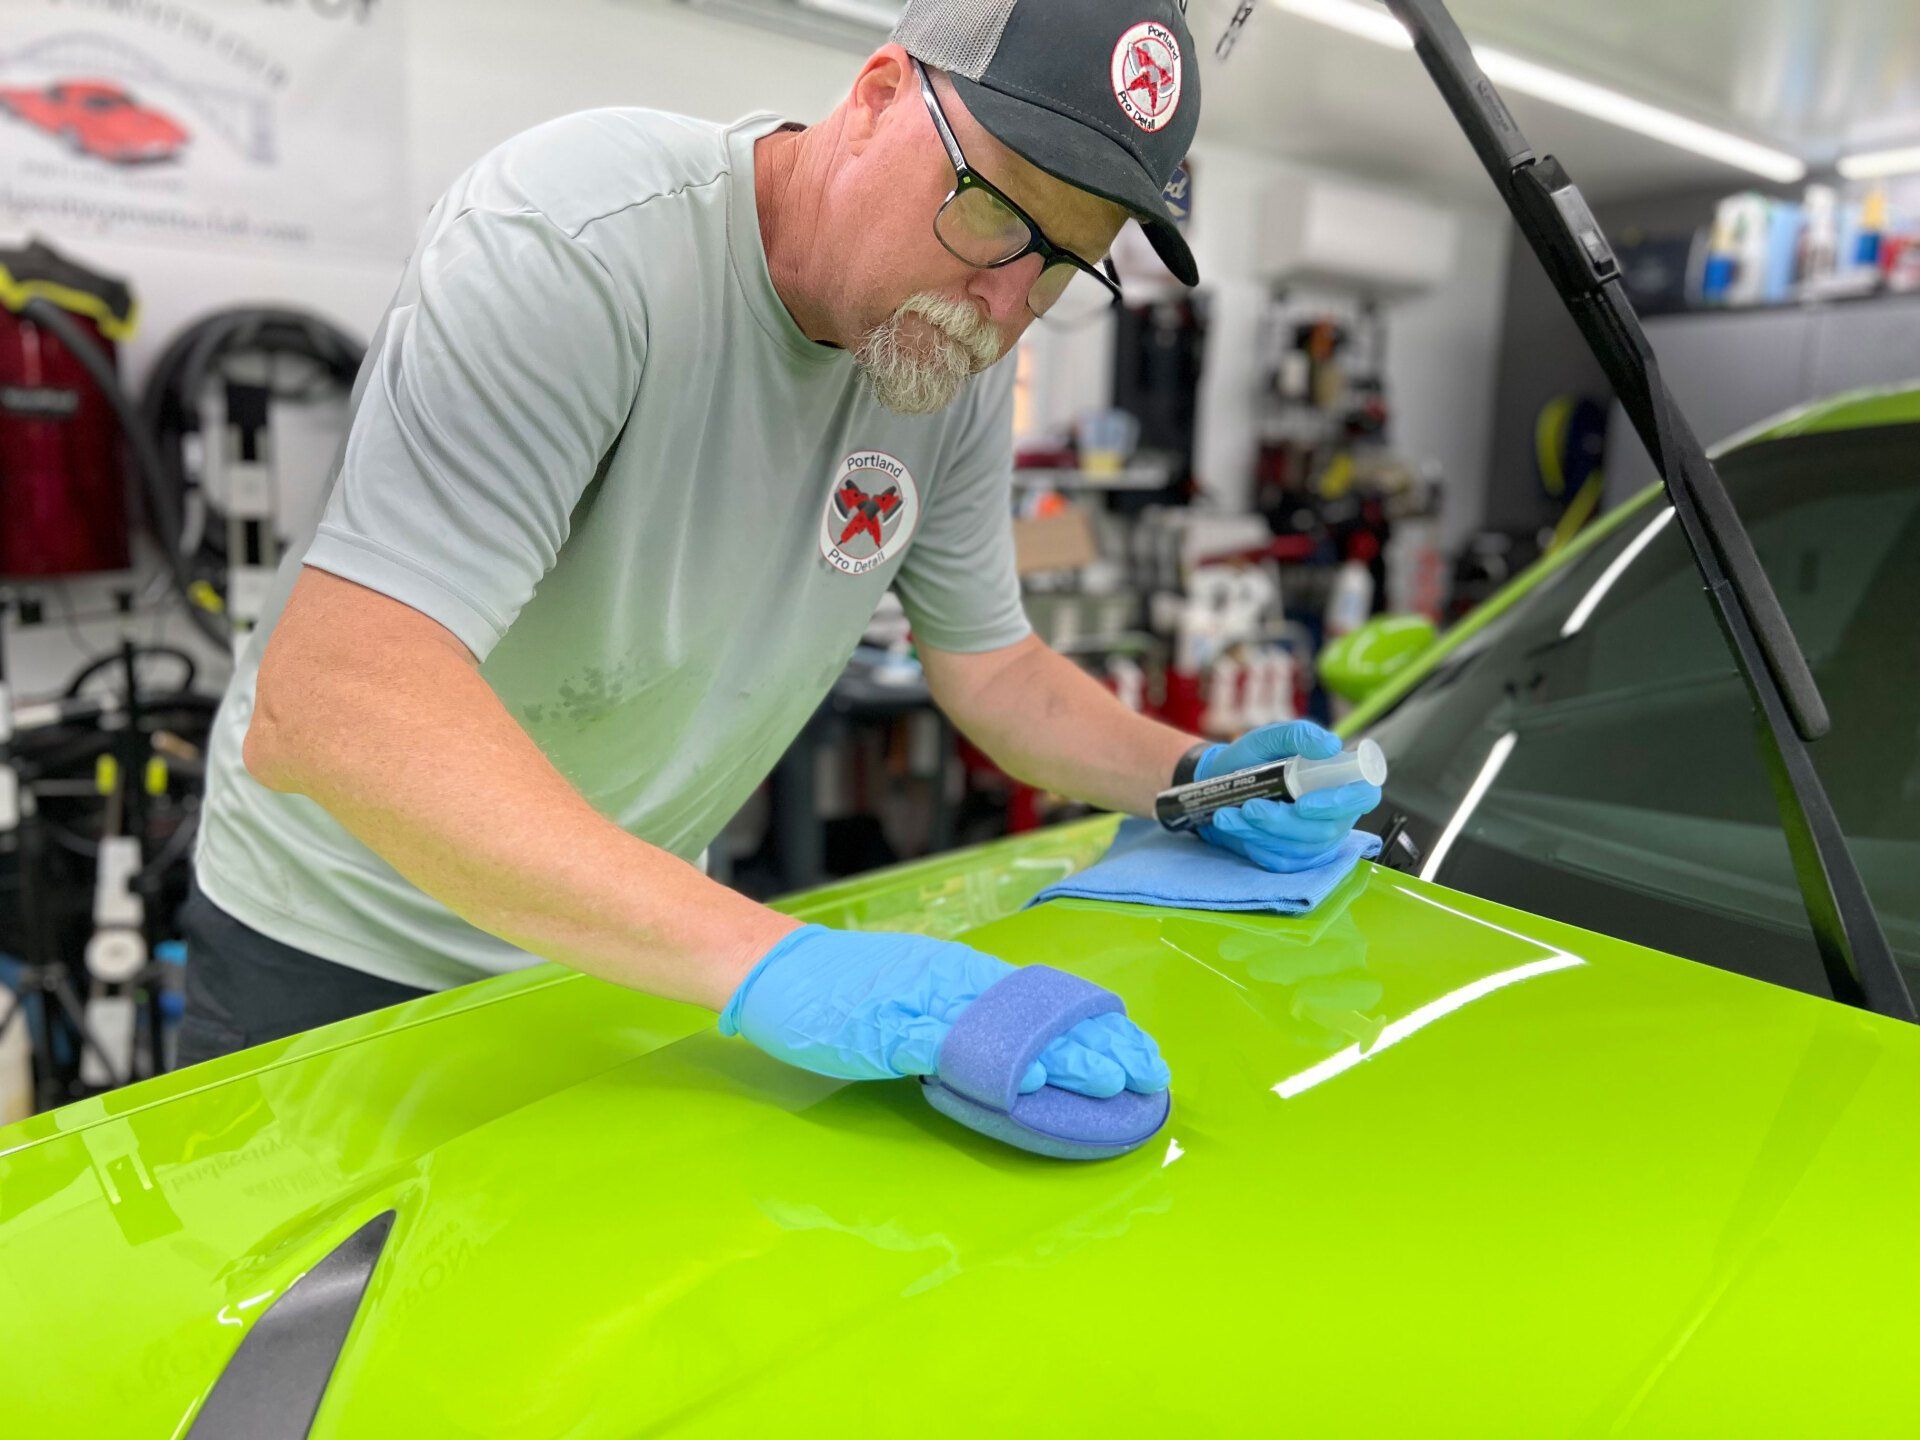
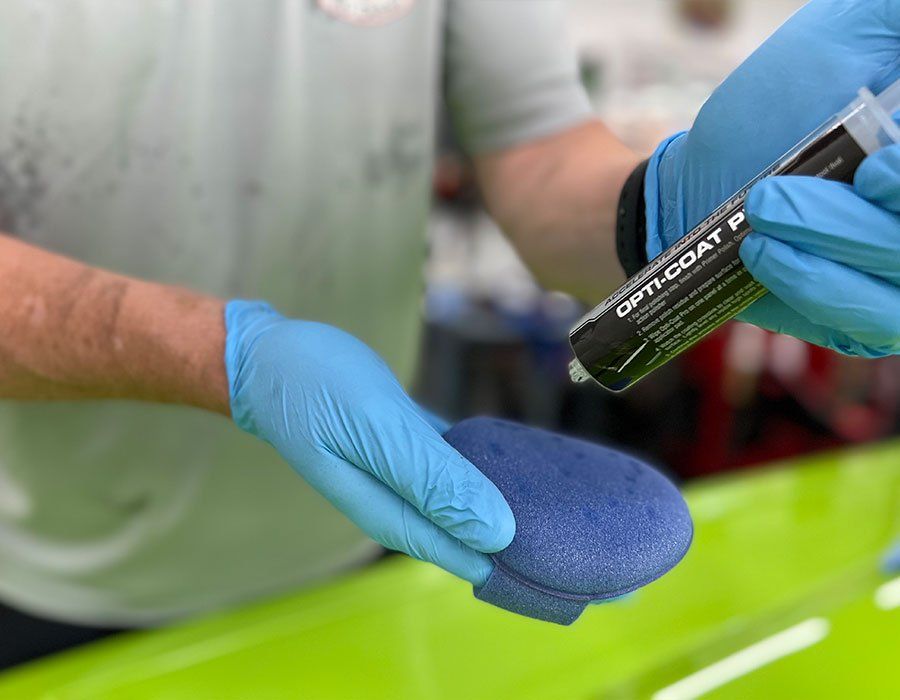
Now that your vehicle is clean and contaminant-free, let’s move on to an often overlooked yet crucial step: clay bar treatment. Using a clay bar isn’t just for show; it serves to eliminate any remaining impurities firmly lodged in your paint. Spritz a lubricant spray over small sections at a time—this allows for smooth movement without damaging the finish. With gentle back-and-forth motions, glide the clay bar across the surface, feeling for any roughness that indicates contaminants being lifted away. Once the clay bar treatment is complete, it's time to address any remaining imperfections in the paint with polishing. Utilizing a dual-action polisher during this stage can yield spectacular results by removing minor scratches and enhancing overall smoothness. Polishing can be labor-intensive; however, dedicating this time to refine your vehicle's surface pays off when applying ceramic coatings later on. Imagine looking at your car post-polish—you can almost hear it shine! Following these meticulous steps lays down a strong foundation for protecting your vehicle with that coveted ceramic coating.
Professional vs DIY Methods
Professional methods stand out primarily due to access to advanced tools and products that are often simply unavailable to the average car owner. Detailers make use of high-powered machines, such as specialized polishers that can swiftly eliminate imperfections in paint and spray guns that apply coatings uniformly. However, don’t underestimate DIY approaches. These methods can be just as effective with careful planning and execution, though they typically demand more time and personal effort. Start small and invest in a few quality tools to achieve impressive results on your own. For beginners, a simple toolkit comprising clay bars, polishes, and microfiber cloths can lay a strong foundation for great results. As you become comfortable, you might want to explore more sophisticated products, like ceramic coatings which promise durability and shine.
Additional Insights
When opting for DIY methods, it's essential to ensure you choose high-quality products. Cheaper alternatives may save money upfront but can lead to unsatisfactory results, ultimately costing you more in terms of time and effort when redoing work. Furthermore, it is beneficial to invest in high-quality equipment from the outset, as it yields better results. Professional and DIY methods have their shared goal: attaining a pristinely prepared surface. While professionals often finish faster and with greater precision, those who dedicate themselves to learning and practicing the nuances of car detailing can achieve remarkable results on their own.
Tips for Optimal Coating Adhesion
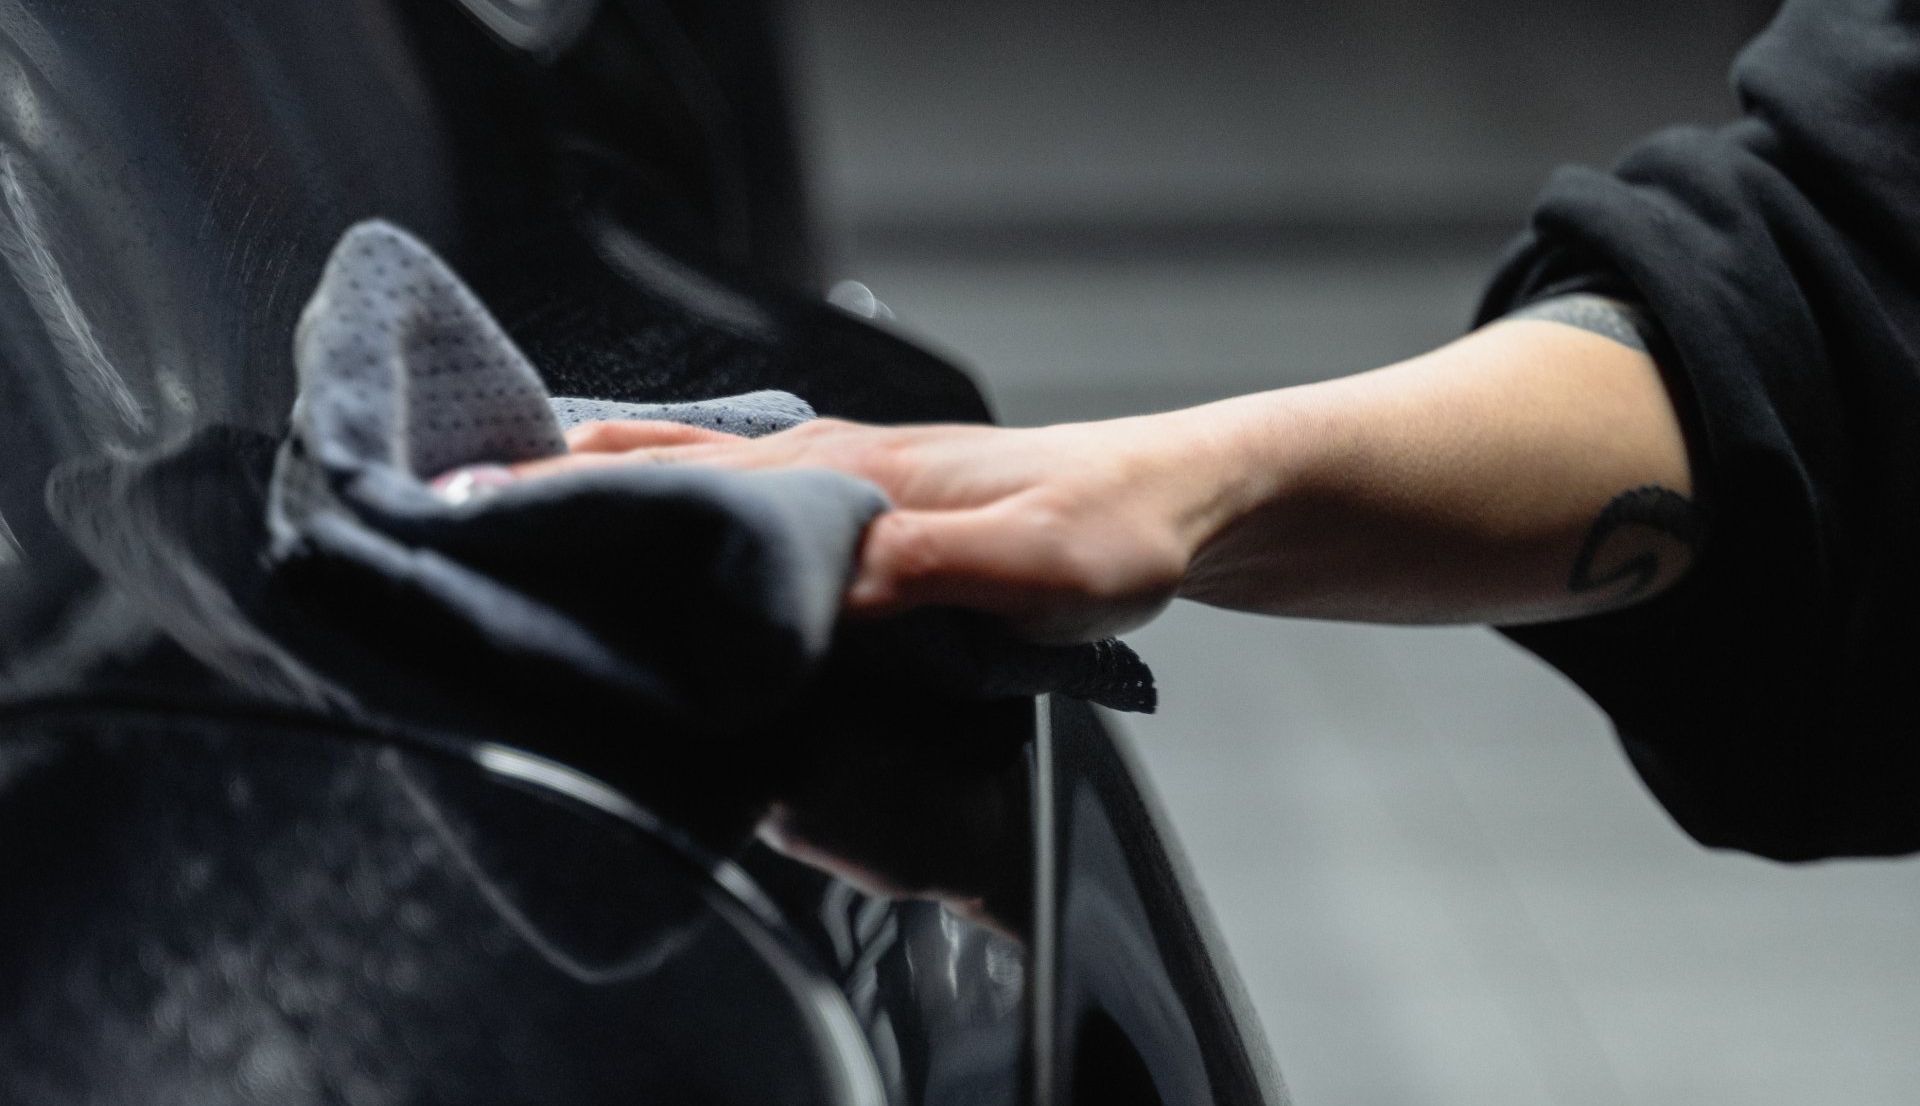
To maximize adhesion, it is critical to ensure the surface is as clean and smooth as possible. One of the most effective methods to achieve this is by performing a meticulous final wipe-down. Using an isopropyl alcohol (IPA) solution for this task ensures cleanliness and helps remove any oils or residues from previous cleaning efforts. It's akin to preparing a canvas before painting; only a flawlessly prepared surface will deliver results that are both beautiful and durable.
- Final Wipe Down: When you're ready for the final wipe-down, choose a clean microfiber cloth soaked in an IPA solution. Gently yet thoroughly wipe the vehicle's surface, paying close attention to crevices and curves where contaminants can accumulate. This final step acts almost like a pre-coat primer, significantly boosting adhesion by allowing the ceramic coating to bond more effectively with the bare surface rather than lingering dirt. You might be surprised at how much residue can still be present even after washing! After ensuring your vehicle's exterior is spotless, the next aspect to consider is the environment in which you'll apply your coating.
- Controlled Environment: It’s essential to apply the coating in a controlled environment—ideally, in an indoor garage that’s free from dust and air pollutants. To achieve optimal results, aim for temperatures between 50°F and 80°F (10°C - 27°C) with low humidity levels. These conditions allow the coating to cure properly and prevent foreign particles from compromising adhesion and finish. Think of it like baking; if there's too much moisture or poor conditions, you’ll end up with soggy cookies instead of perfect ones!
Before applying the coating, ensure that the car's surface is completely dry. Moisture can interfere with adhesion and create spots that can mar the finish. A quick touch test can determine if it's adequately dry; your hand should feel no dampness on the surface when you run it along.
Common Mistakes to Avoid
It's easy to make simple mistakes when preparing surfaces for car coating, yet these oversights can lead to significant problems down the line. One prevalent error is skipping surface preparation altogether. Too often, individuals rush into applying the coating without ensuring their surfaces are clean and ready. Just like making a cake, if you don't prepare your ingredients properly, you're bound to end up with something less than delectable. Failing to clean or prep surfaces can lead to uneven coats, peeling paint, and unnecessary extra work. Another critical mistake is using the wrong products during the preparation stage. While it may seem convenient to grab that household cleaner under your sink, doing so could result in irreversible damage to your car’s paintwork. Automotive paints and coatings are uniquely formulated for proper adhesion and to withstand environmental stressors. By using inappropriate cleaning agents, you risk affecting adhesion properties and potentially harming the factory finish.
Furthermore, one should never underestimate the impact of environmental factors during the coating process. Issues like dust contamination can arise from not monitoring temperature and humidity levels in your workspace. Imagine spending hours meticulously prepping a surface only to find that dust has settled on it right before you apply the paint—what a frustrating setback! Ensuring that you work in a controlled environment can prevent these nuisances from sabotaging your hard efforts. Lastly, it's crucial not to overlook OEM specification compliance during surface preparation. Adhering to proper guidelines might seem tedious, but following Original Equipment Manufacturer requirements is key to achieving a flawless finish while maintaining industry standards. Deviating from these specifications often results in unsatisfactory outcomes that could compromise not just aesthetics but also the integrity of repairs.
In conclusion, recognizing and avoiding these common mistakes will greatly enhance your car coating experience and its durability.
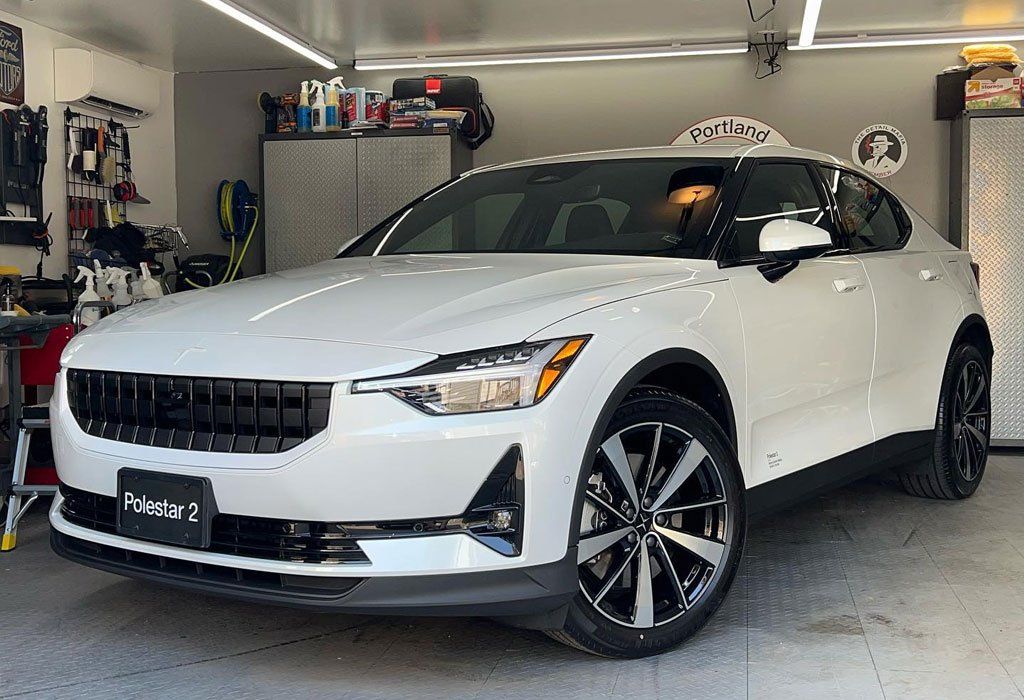
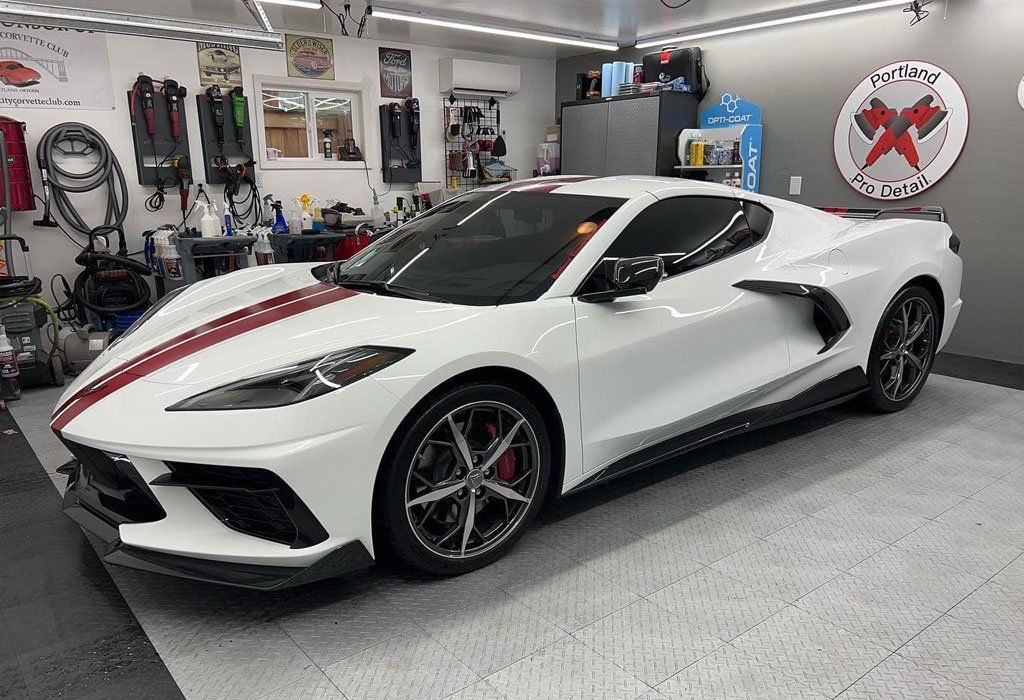
Portland’s Ceramic Coating Experts
Ready to protect your vehicle with a brilliant finish that stands up to the Pacific Northwest’s unpredictable weather? At Portland Pro Detail, our
expert ceramic coating services in Portland, OR offer unmatched durability, hydrophobic protection, and a showroom-worthy gloss that lasts. Whether you're driving through city streets or coastal roads, we help ensure your paint stays cleaner, longer—with less effort on your part. Contact our team today to
schedule your ceramic coating service and experience the long-term difference real protection makes!
Portland Pro Detail Blog